Welcome to WordPress. This is your first post. Edit or delete it, then start writing!
Author: admin
-
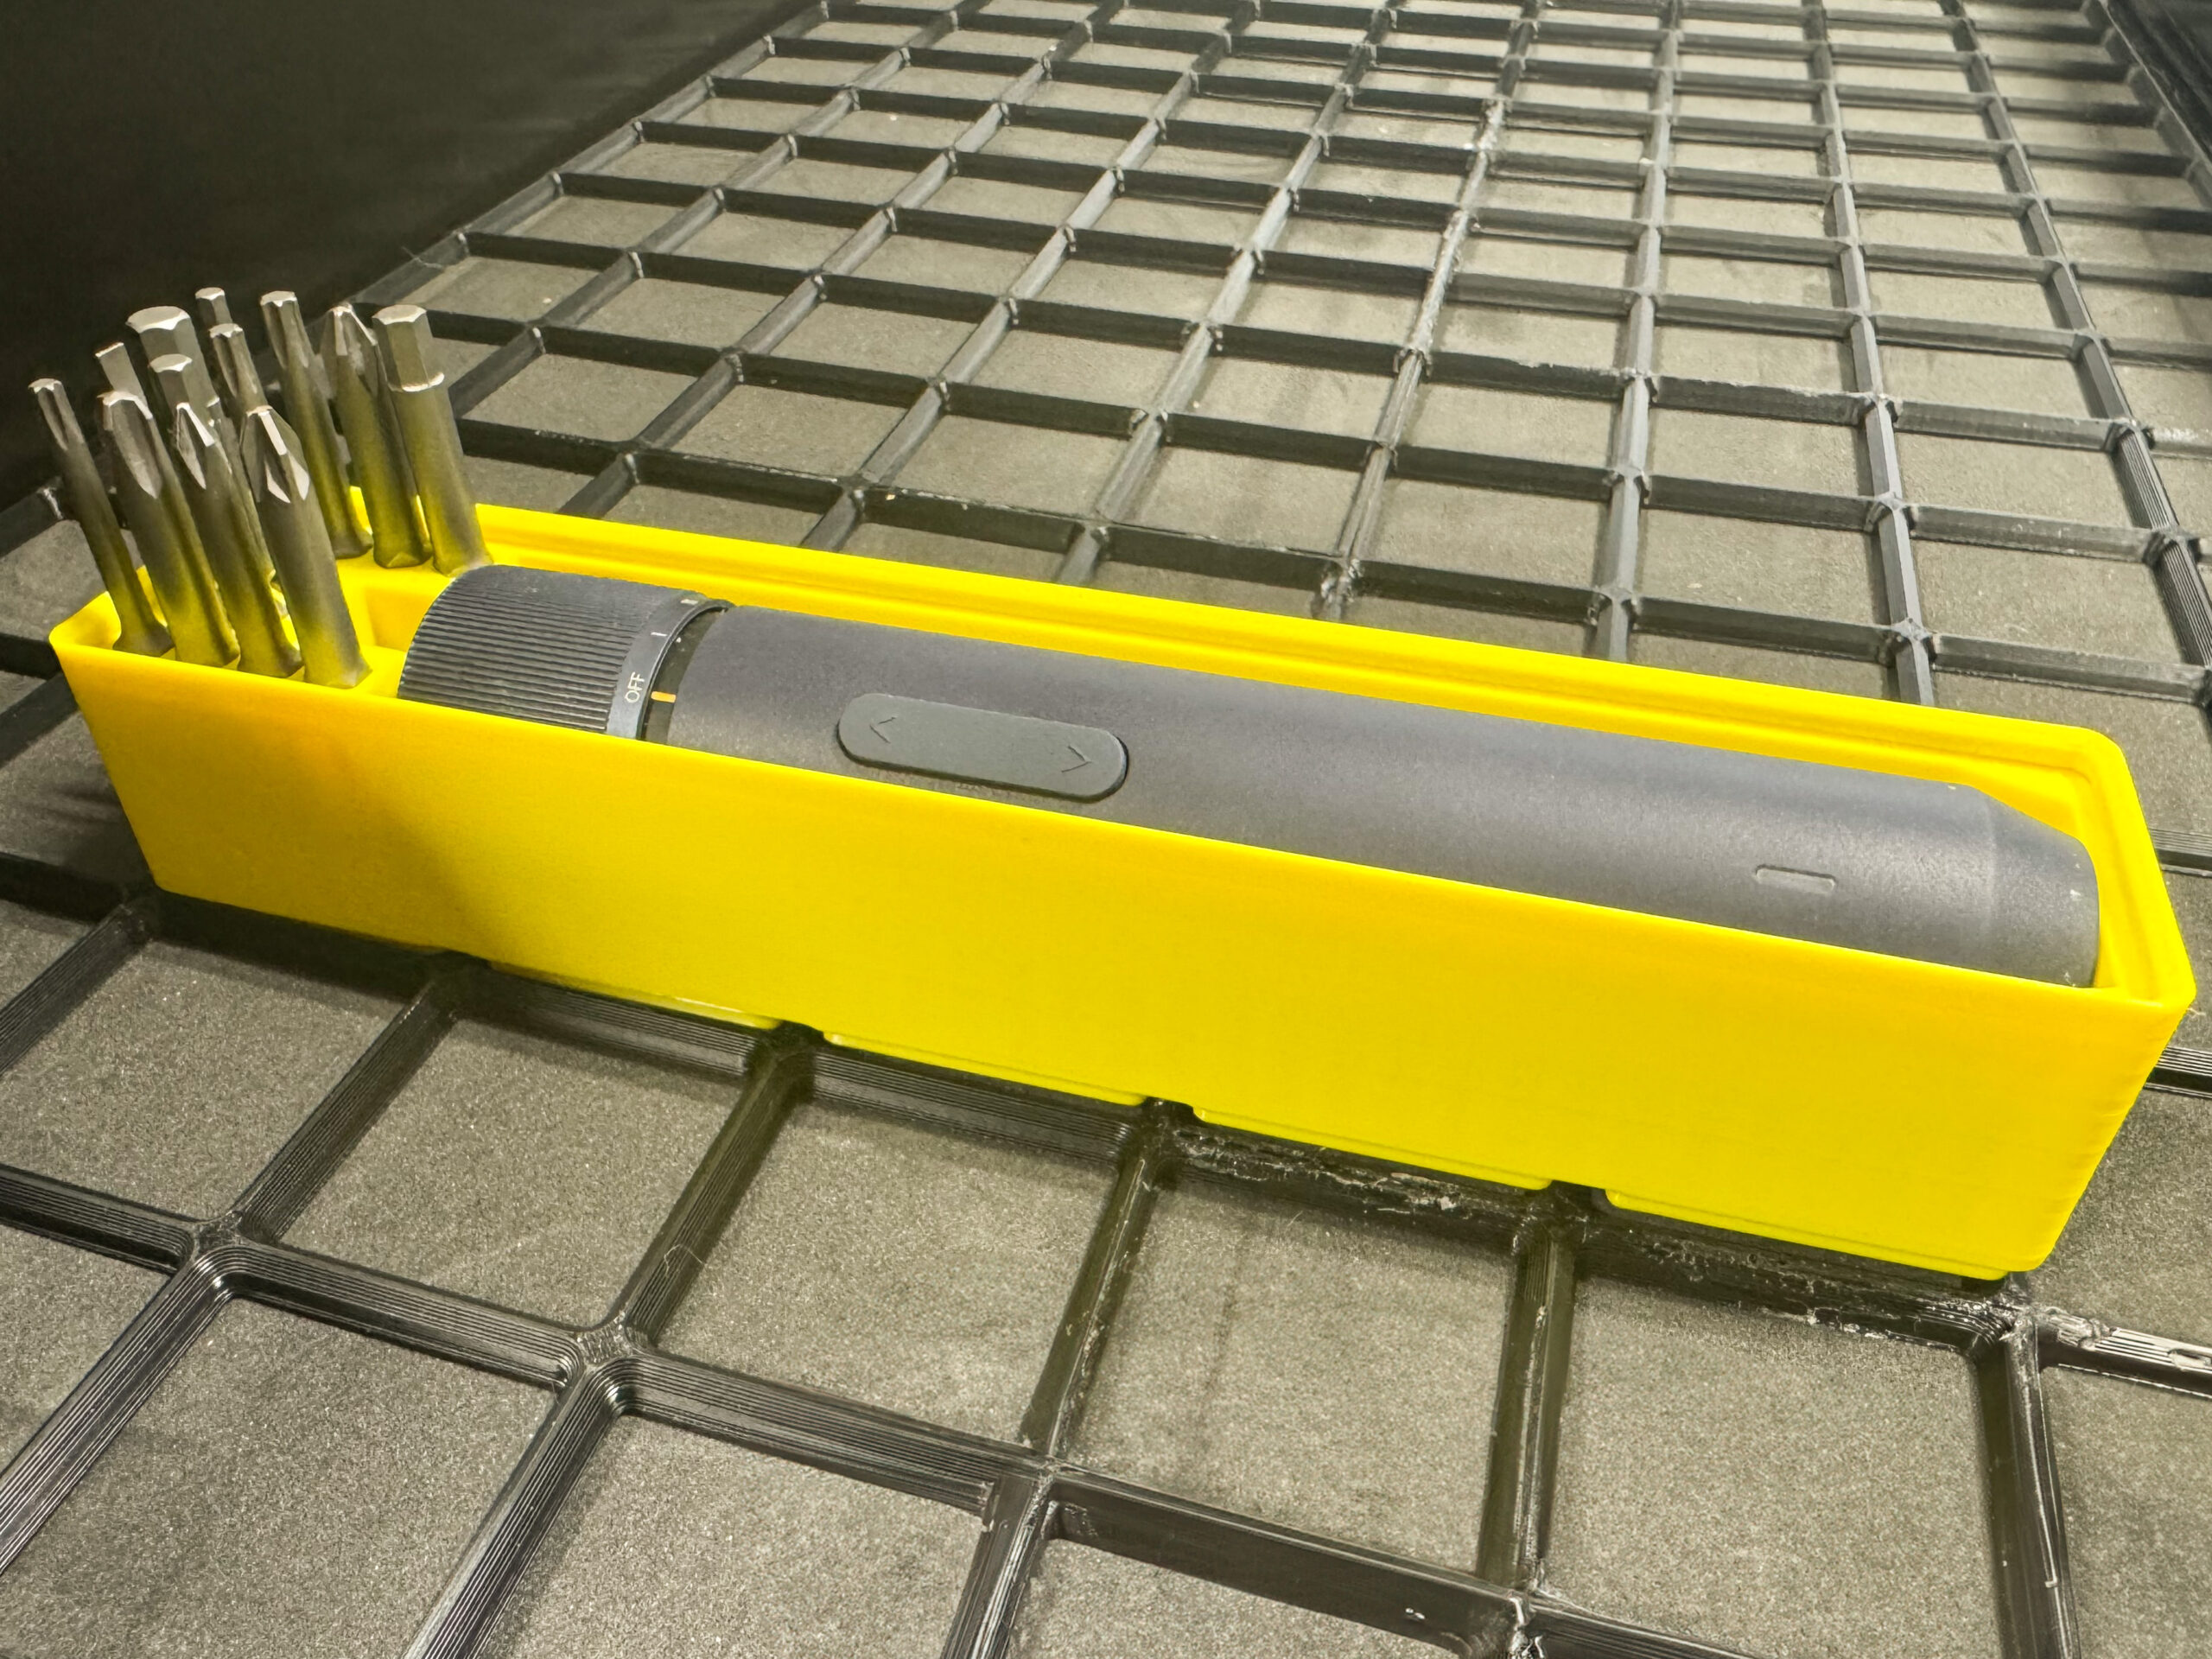
Gridfinity – Hoto Screwdriver and Bit Storage
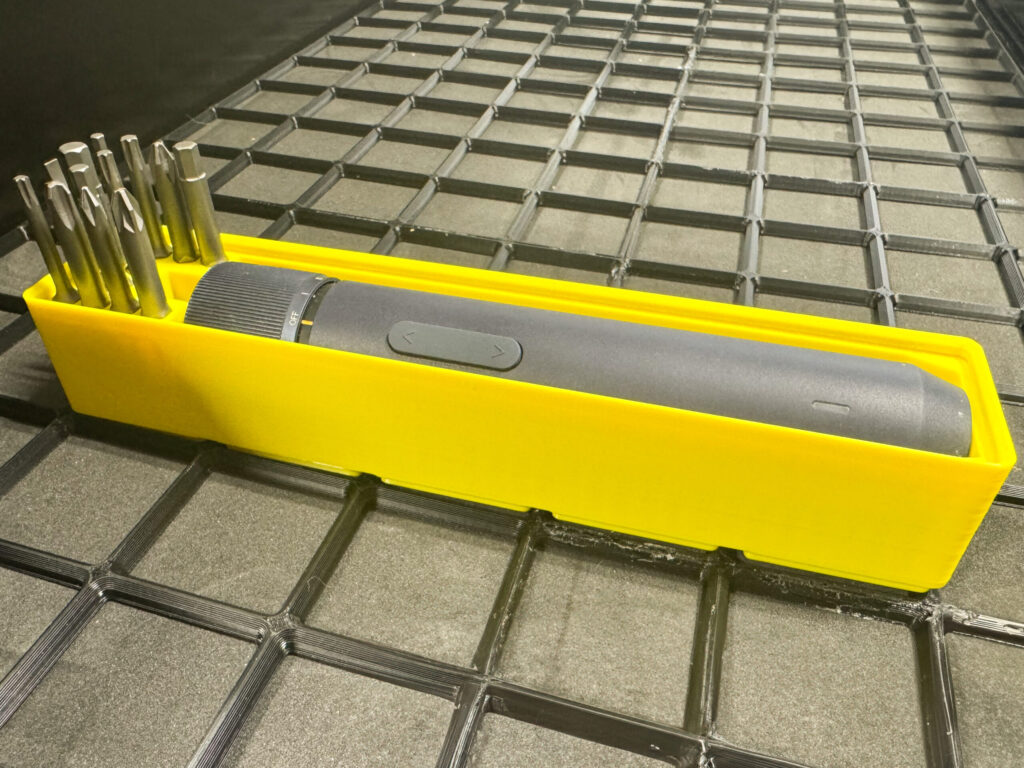
I love 3D printing for the storage options but it’s taken me a while to get around to working on the garage. I wanted to make a holder for this Hoto screwdriver with the bits that came with it, but surprisingly there wasn’t anything out there. It fits the screwdriver perfectly, and has holes in the base for magnets and only takes up 5 x 1 spaces
-
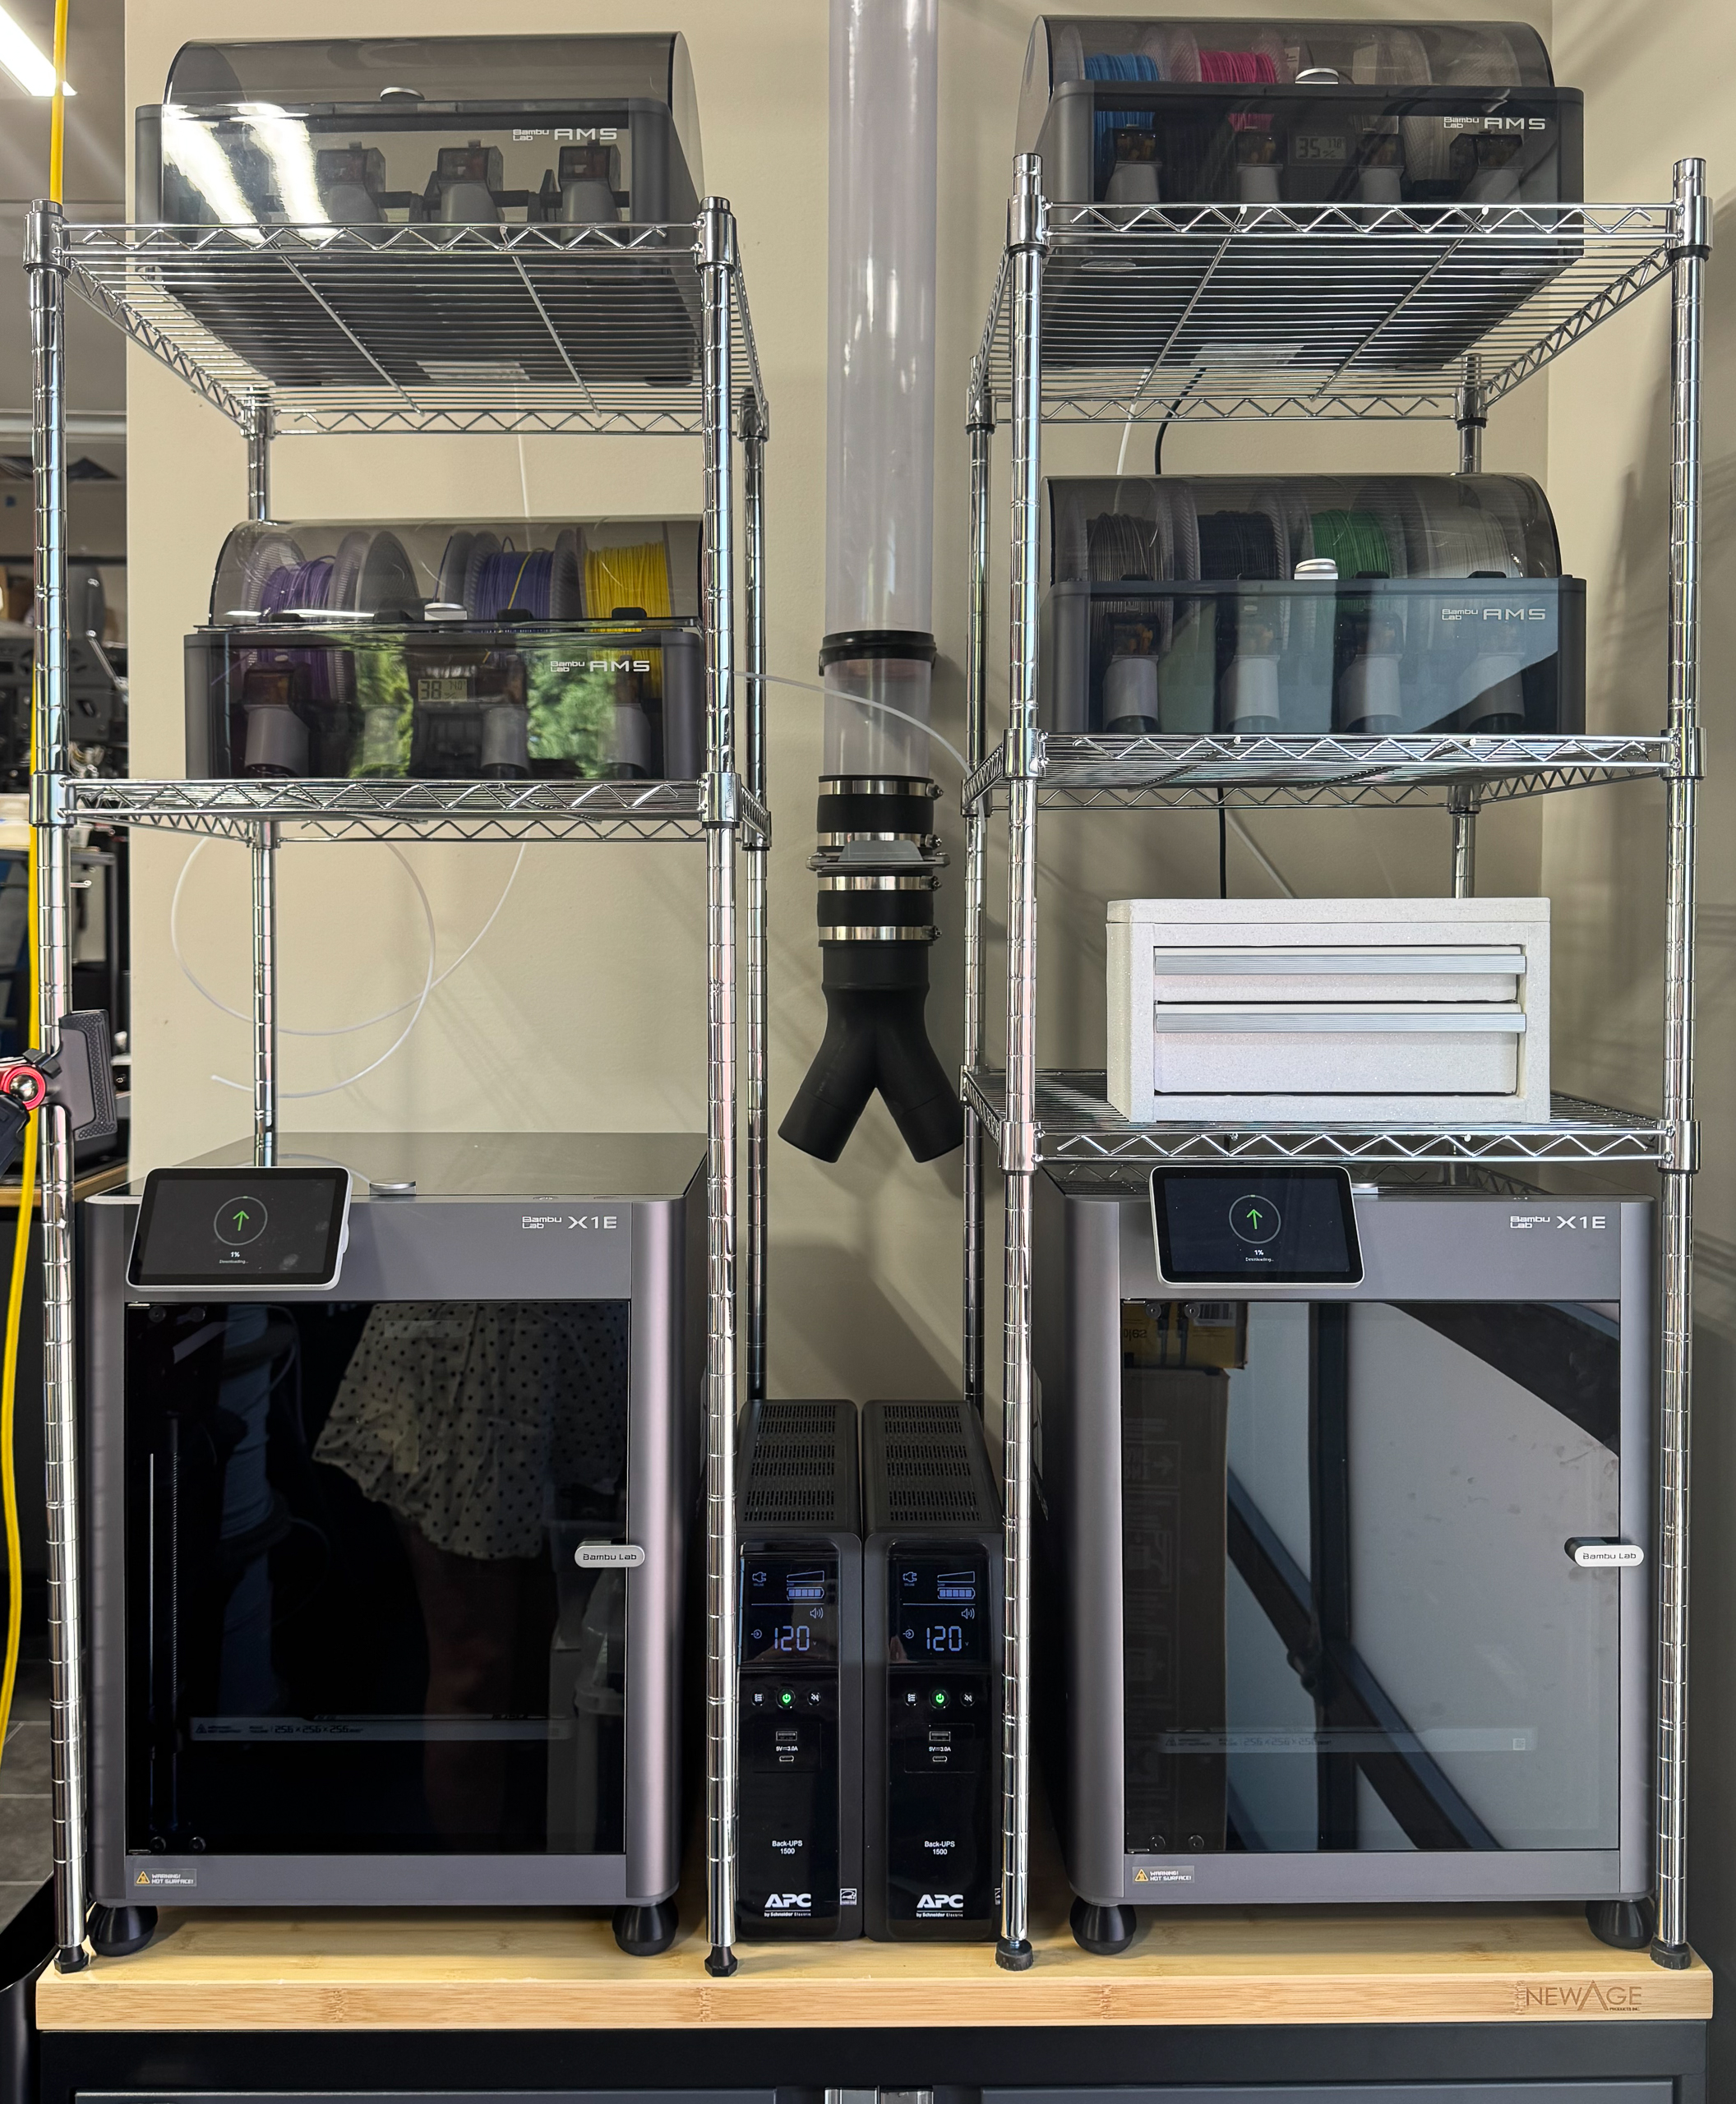
My 3D Printer Line Up
I searched on Twitter (I will never call it X) to see if I could find any photos of our first 3D printer, and came up with nothing, but did find that I’d been talking about 3D printing since 2011, and even posted about some jewellery made with a 3D printer on my blog (although haven’t actually made any myself on my printers!)
I think it was around 2015/2016 when my husband bought a Cel Robox Dual 3D printer, I never touched it because the software it ran on was Windows only, and I only had a Mac. It was boxed up when we made the move to the US in 2017, and pretty much just stayed in the box until October 2022 (I checked my Amazon purchases for filament!) when I realised that I had access to a Windows laptop and I might as well play with it to see what it can do!
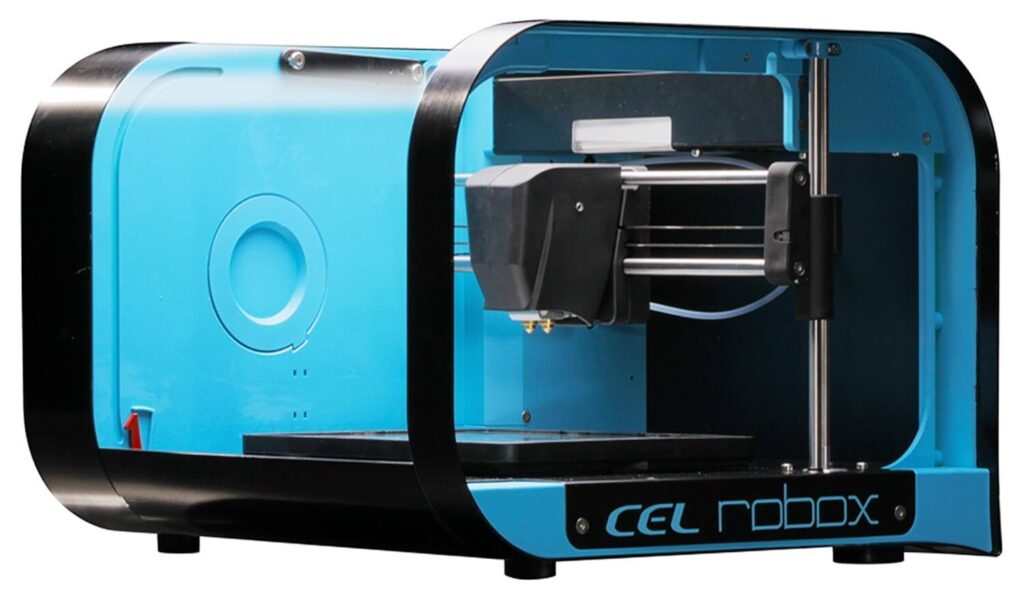
It was a great way to start learning about 3D printing, but it was an older printer that was EOL (one of the selling points of the printer was that it was easily repairable by the user, but thats only useful if you can still get parts, and one of the reasons the Robox appears to be abandoned is that during the pandemic, Cel were struggling to get parts. It was also a little fussy about what filament it preferred and I was definitely reaching the limits of what I could do with it!
(before we get into the things that we currently own, I feel like I should tell you that my husband likes to upgrade things and we are both very bad at selling older things. But! All of these have different functions that make them useful, so it’s not been a bad thing to keep them around)
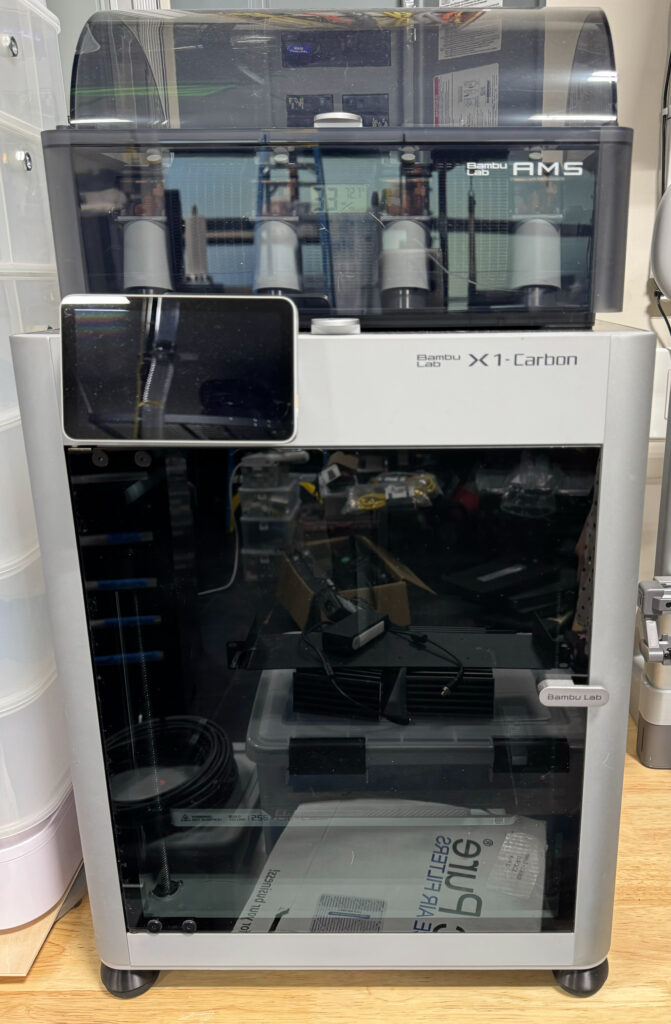
In February 2023, we bought a Bambu X1 Carbon printer with an extra AMS and its been a game changer! The AMS allows you to have upto 16 different colours and types of filament set up against one printer (although that gets a little unwieldy) and you can print with the different colours into the same print (as long as they are the same type of material). If I am ever asked for a recommendation of a 3D printer, it’s definitely this one, because it’s fairly idiot proof to use which means you can get to the fun of printing rather than fiddling with the printer!
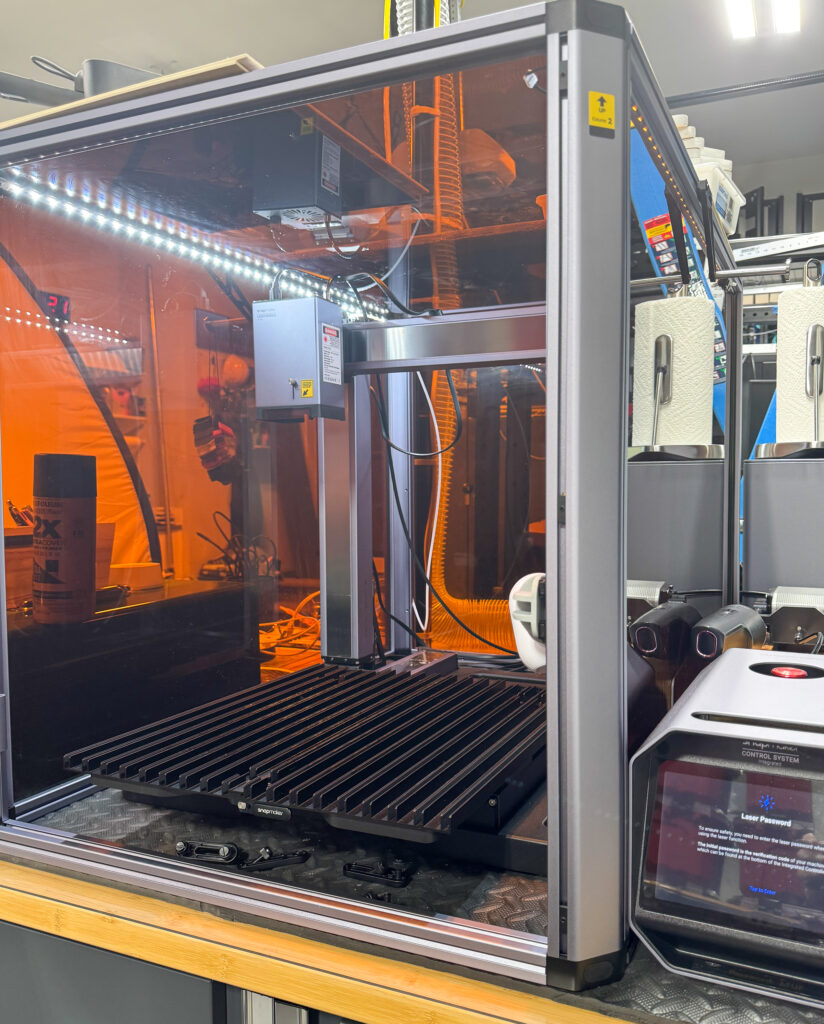
We then acquired a Snapmaker Artisan 3 in 1 machine, which can do 3D printing, CNC and laser – the only benefit of the 3D printer element for me is that it can print bigger models, but if you wanted all three modules, and you were limited on space, I think the Artisan is a pretty decent option, it’s just a bit basic.
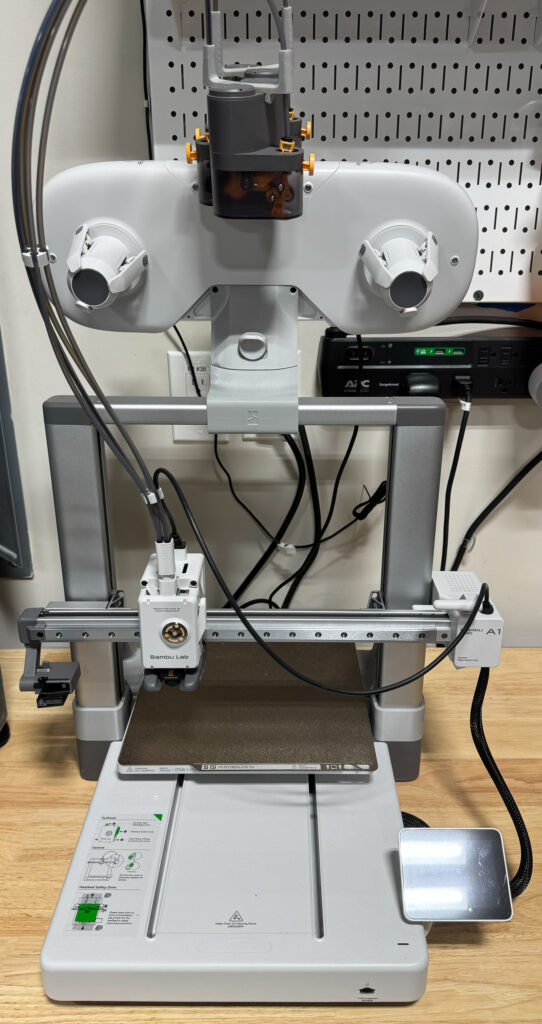
I’m not even sure why we have the Bambu A1 printer – I think my husband ordered it in a presale and forgot about it (!). The A1 is Bambu’s budget full sized printer, but I’m not a fan because I feel like the lack of an enclosure around the printer means the temperature can vary too much which can lead to more failed prints.
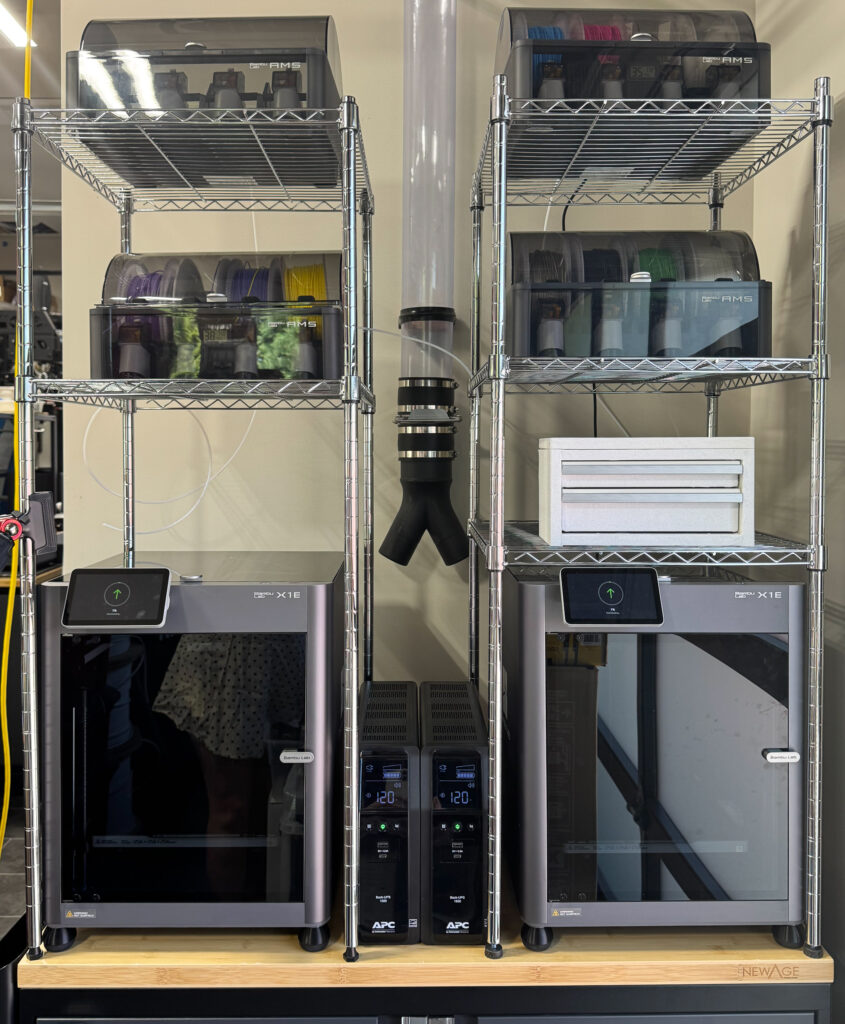
Finally, the overkill: the Bambu X1E‘s. These are the top spec printer that Bambu does, and we purchased them because they are able to use more specialist types of filament (such as ASA) due to the heated chamber and better air filtration – behind the printers, you can see a clear tube, which is for a filtration system. I still need to find/design a way to get these connected to the printers, but the fumes coming off these even with PLA and ABS is much better than the other printers. They also have better networking options, which is important to us. We purchased them both through Matterhackers and would recommend them!
That’s all of our printing devices for now – if you have any questions, please do ask!
-
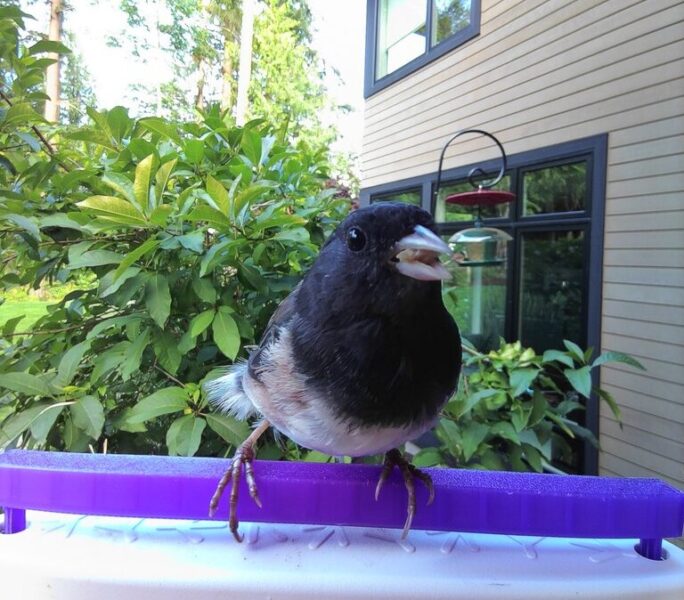
Quick Perch for Bird Buddy
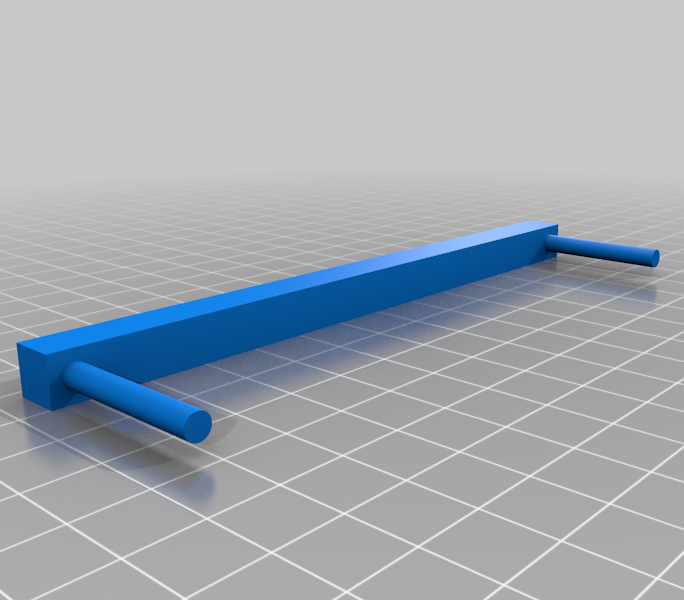
My husband bought a Bird Buddy because I am apparently of that age where I want to know what birds are in my garden, and it looked great except I wasn’t getting any visitors! I noticed that a lot of birds were smaller and would struggle to hold onto the bird feeder so I quickly whipped this up in Tinkercad and printed it in PLA to tide me over until I could order some ASA to hold up better in the sun. (It’s about a year later now, and it’s held up fine, so I don’t feel the need to reprint it yet!)
-

Seattle Kraken Winter Classic Logo
I’m a Seattle Kraken fan, and l-o-v-e-d the Winter Classic jersey and logo for the game against Vegas on January 1st, but couldn’t find anything that I could print so decided to make my own file (and learnt how to do this, which feels like it would be useful in the future!) I used websites that were free to use as well, so this should be easy for anyone to try! Here’s the step by step process, in case you have a logo or something you want to break down.
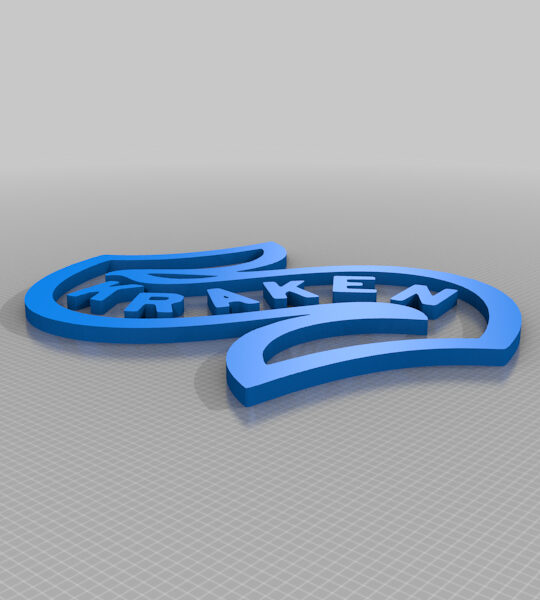
First, I had to make my own large copy of the logo because I couldn’t find one (but if you were going to do this for a different logo, see if you can get a high quality PNG image or even an SVG file) I did this by finding the largest image I could, cropping it down to just the actual part I wanted and removing the background – if you don’t have Photoshop, etc, then pixlr.com is really useful. As you can see the colour image, I also changed the colour of the outline of the S so it could be separated from the letters in the middle. (When doing this with a more complicated image, I’ve used onlinepngtools.com to reduce the amount of colours in the image, which will make sense shortly!)
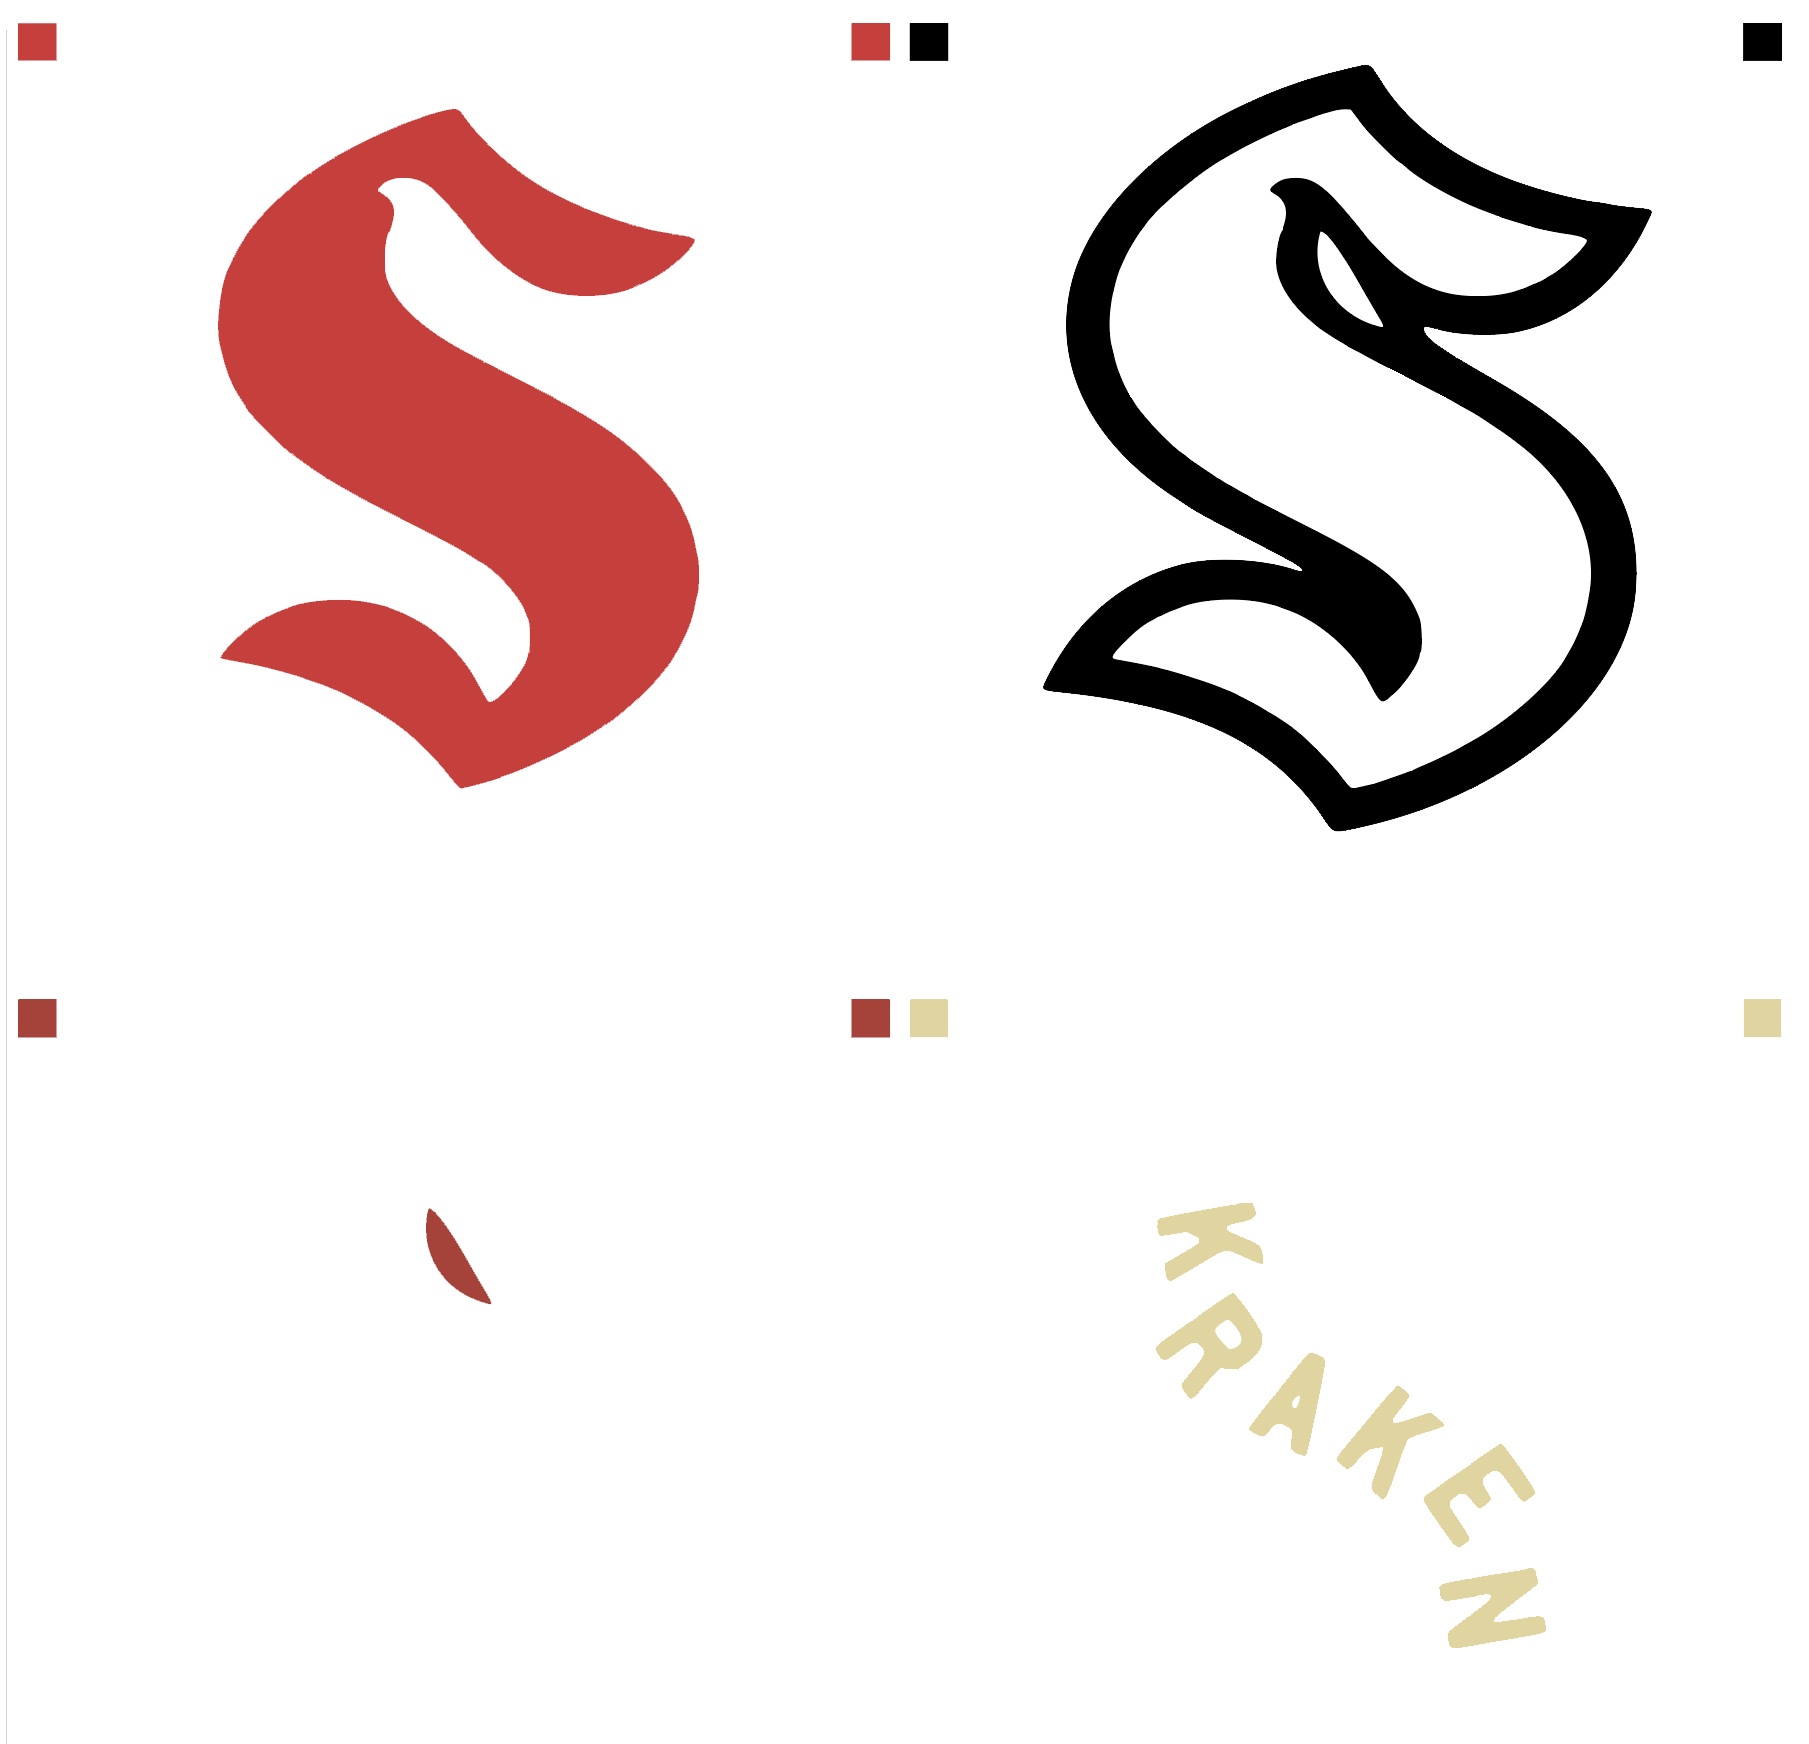
After I had an image I was happy with, I uploaded it to pngtosvg.com – this site is really useful if you use a Cricut/Silhouette type machine, as it will take an image and strip it down so each colour in the image is separated so you could cut them out of coloured vinyl and the squares in the top corners of each colour would allow you to line them up correctly
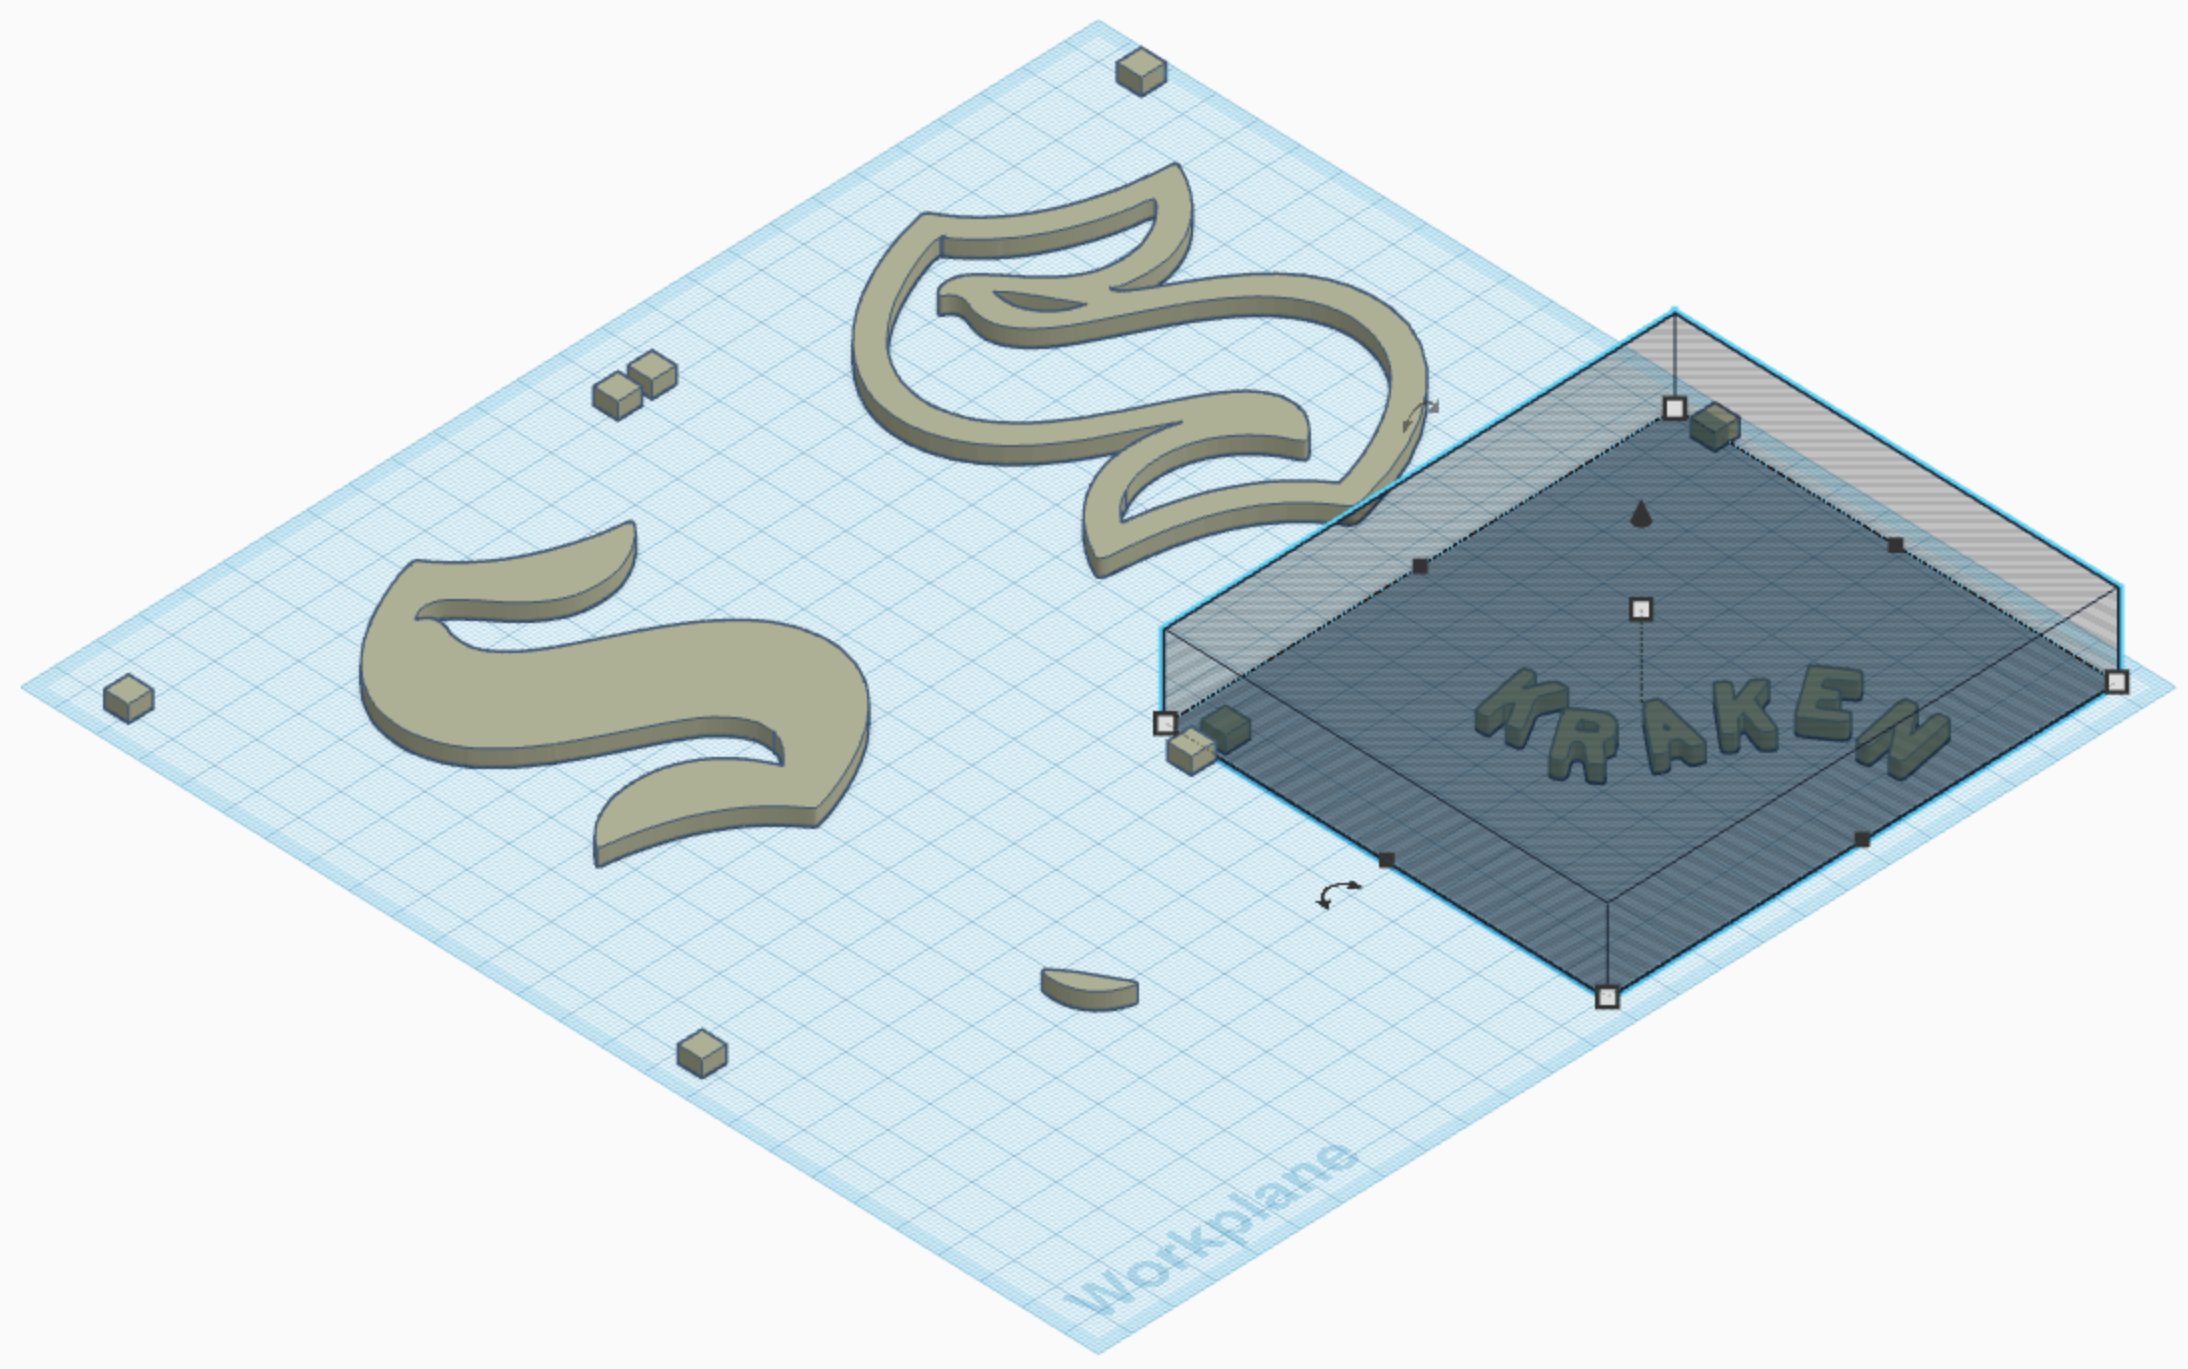
Once I had the colours separated out, I just needed to make the 3D file. The way that I did it isn’t especially high tech but it worked! I opened up tinkercad.com (my favourite place to start when creating a 3D file) and imported the SVG file into a new 3D design, and then used the hole shape (in the screenshot, thats the grey striped shape) to cover up everything, leaving a specific part of the logo. I repeated that four times, for each of the four parts
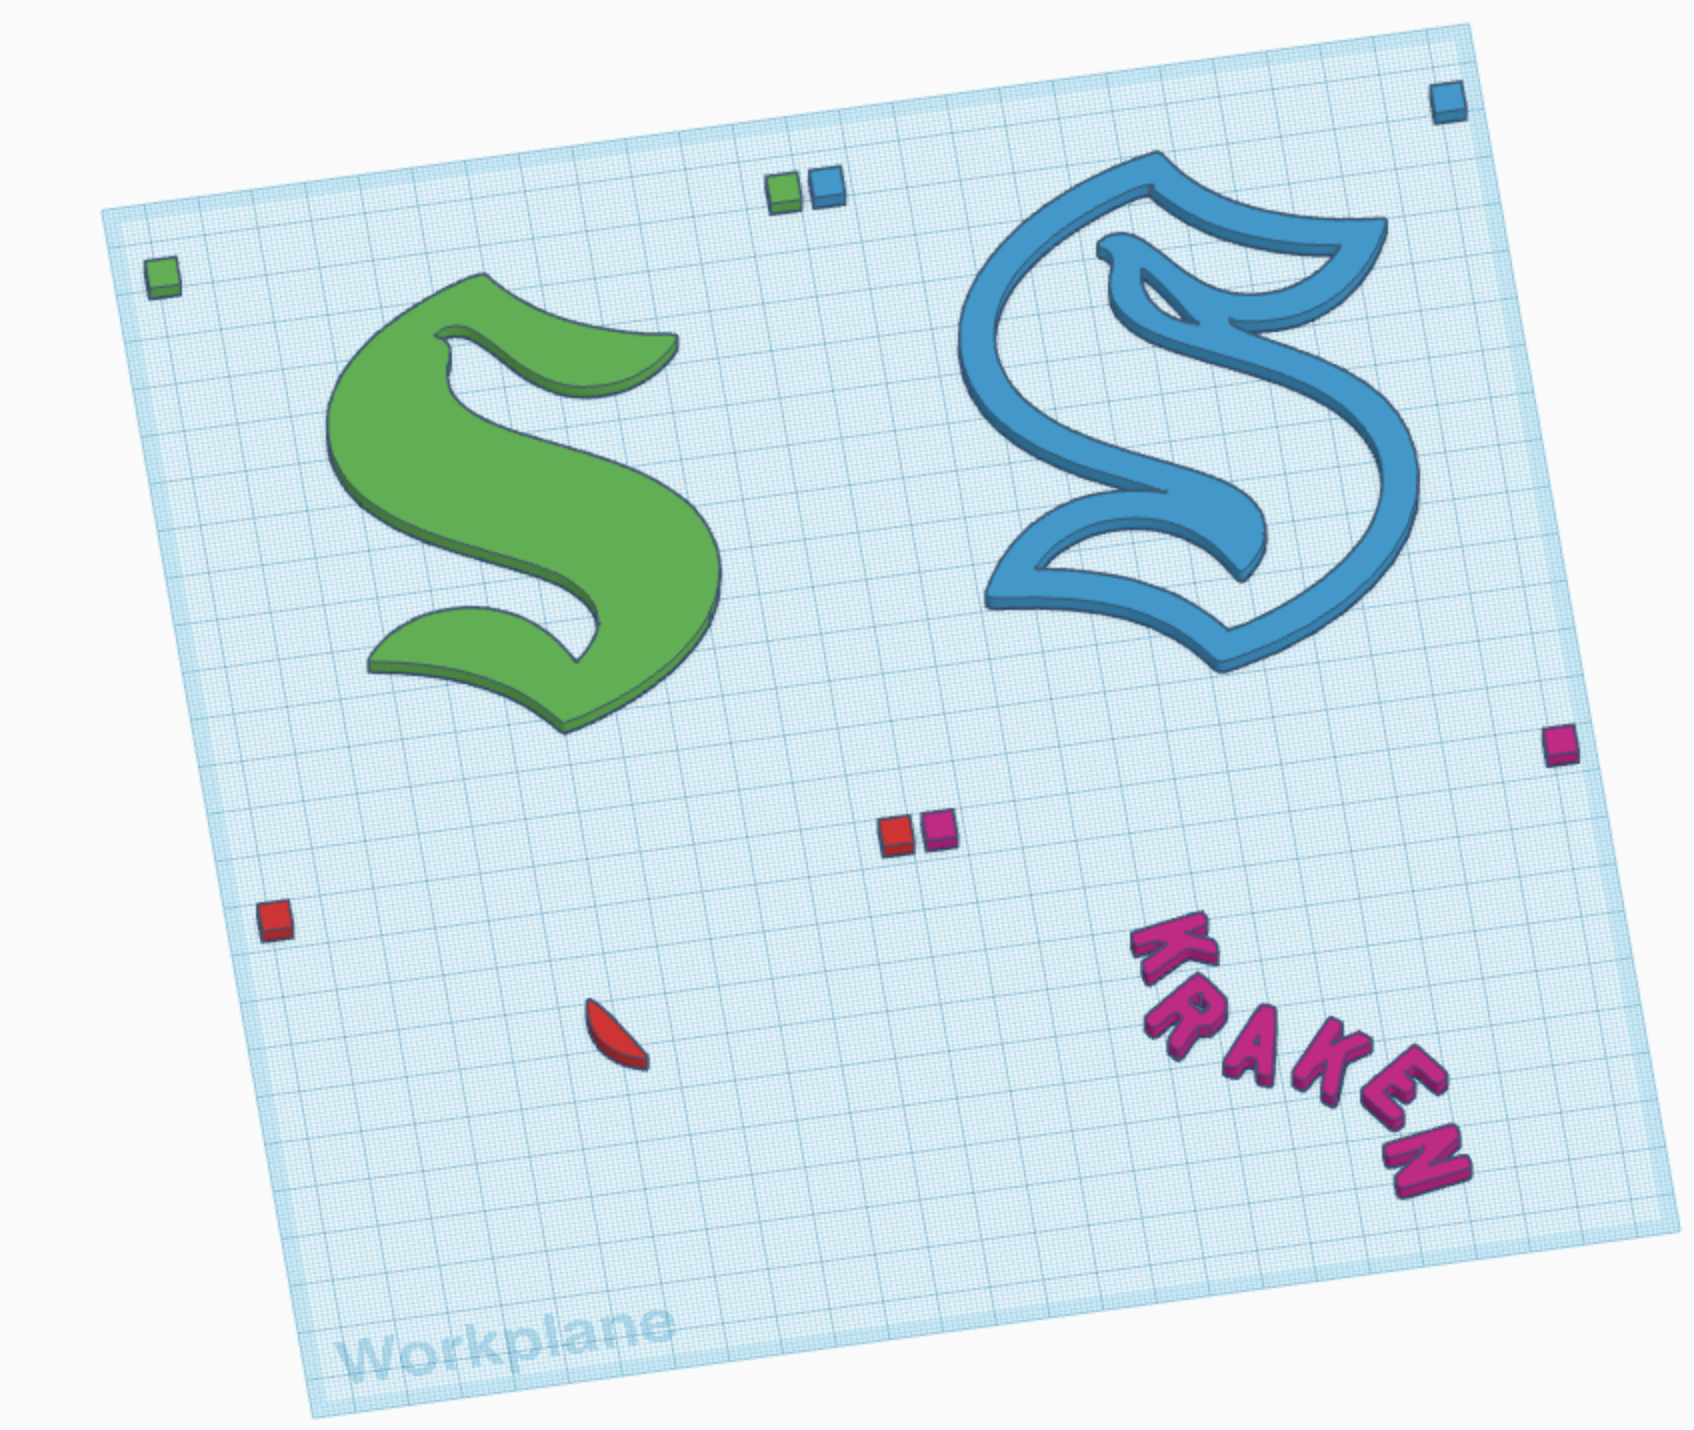
Each of the coloured sections is a separate model, so can be printed separately for those with a printer that can’t do multi coloured printing/prefer to do it separately. That was basically it – from there the file was able to be downloaded separately so you could print the separate parts and I also combined all of the parts together again and gave each layer slightly different heights (0.1mm differences) so it would easy to colour in for multi coloured prints. I left the square anchor blocks on the logo parts to make it easier to align them all for the combined piece, but after I had that finished, I used the hole shape again to remove these so they didn’t print
I uploaded the file to Thingiverse in two versions – one solid file with varying heights so it was easy to colour the different parts in Bambu Studio, and then separate files for each part of the logo in case that was more useful for others!
-

hello!
If on the off chance you’re a random person just landing on this page, hi, hello, I’m Hayley. I’ve been blogging for 20+ years but felt like I should separate out my crafting things from my personal blog.
Let me know if there’s anything that you’d like to see me post about!